Showing posts with label diy. Show all posts

DIY Home Renovations: No More Carpet

22.2.16


Day One: Get This Carpet Out Of Here! 


It is Feb in MN & things just aren't right. We arrived on Valentine's Day back in (freezing) MN...except it wasn't freezing! We had to shovel our drive way but, by the end of that week-no flipping snow & warm sunshine! 
So bazaar. 

Ryan & I are moving back to MN from MA here soon. We have a ton of work cut out for us to get our home ready so when we do move back we can enjoy our CLEAN, newly done home and our new fur child. If you have missed it, we rented out our home & it was a disaster! I have not shared the entire story with you because...well I can't yet but man, this past year of renting was brutal! So, we are re-doing our flooring, painting, and fixing other things that have been mistreated -aka, ruined by our previous tenant. 

So like I said earlier, we flew out to MN on Valentine's Day. To get things started off nicely, we had a bit of some miscommunication and my bag (with everything in it) was left in our Uber we took at 3am! We both arrived to MN separately around noon and met near the tram where Ryan asked me where my bag was. I replied with you have it...but he didn't. Okay, so sucks but whatever I can buy some clothes to get by. So we handled that, went to Lowes for some tools and other materials for the house. We pull up to our house and see we have some shoveling to do. While getting ready to do that I asked Ryan if he had the key. Nope, no key, we left that in Boston too! Guys, this is totally not like us!! We both said to each other that we must be more stressed than we think to mess up this bad! Luckily our neighbor was just leaving and had an extra key! One thing going for us. 

We finally get into our house & admire the dirtiness/rudeness that our tenant had left for us. Our garaged filled with 20 trash bags full of beer and food with some random household items. At this point it is rather late in the day and we had so much to do before the cleaners arrive on Monday at 8:30 am so we got right to work. Carpeted areas (besides basement) all came up & we had our fair share of rookie mistakes. 

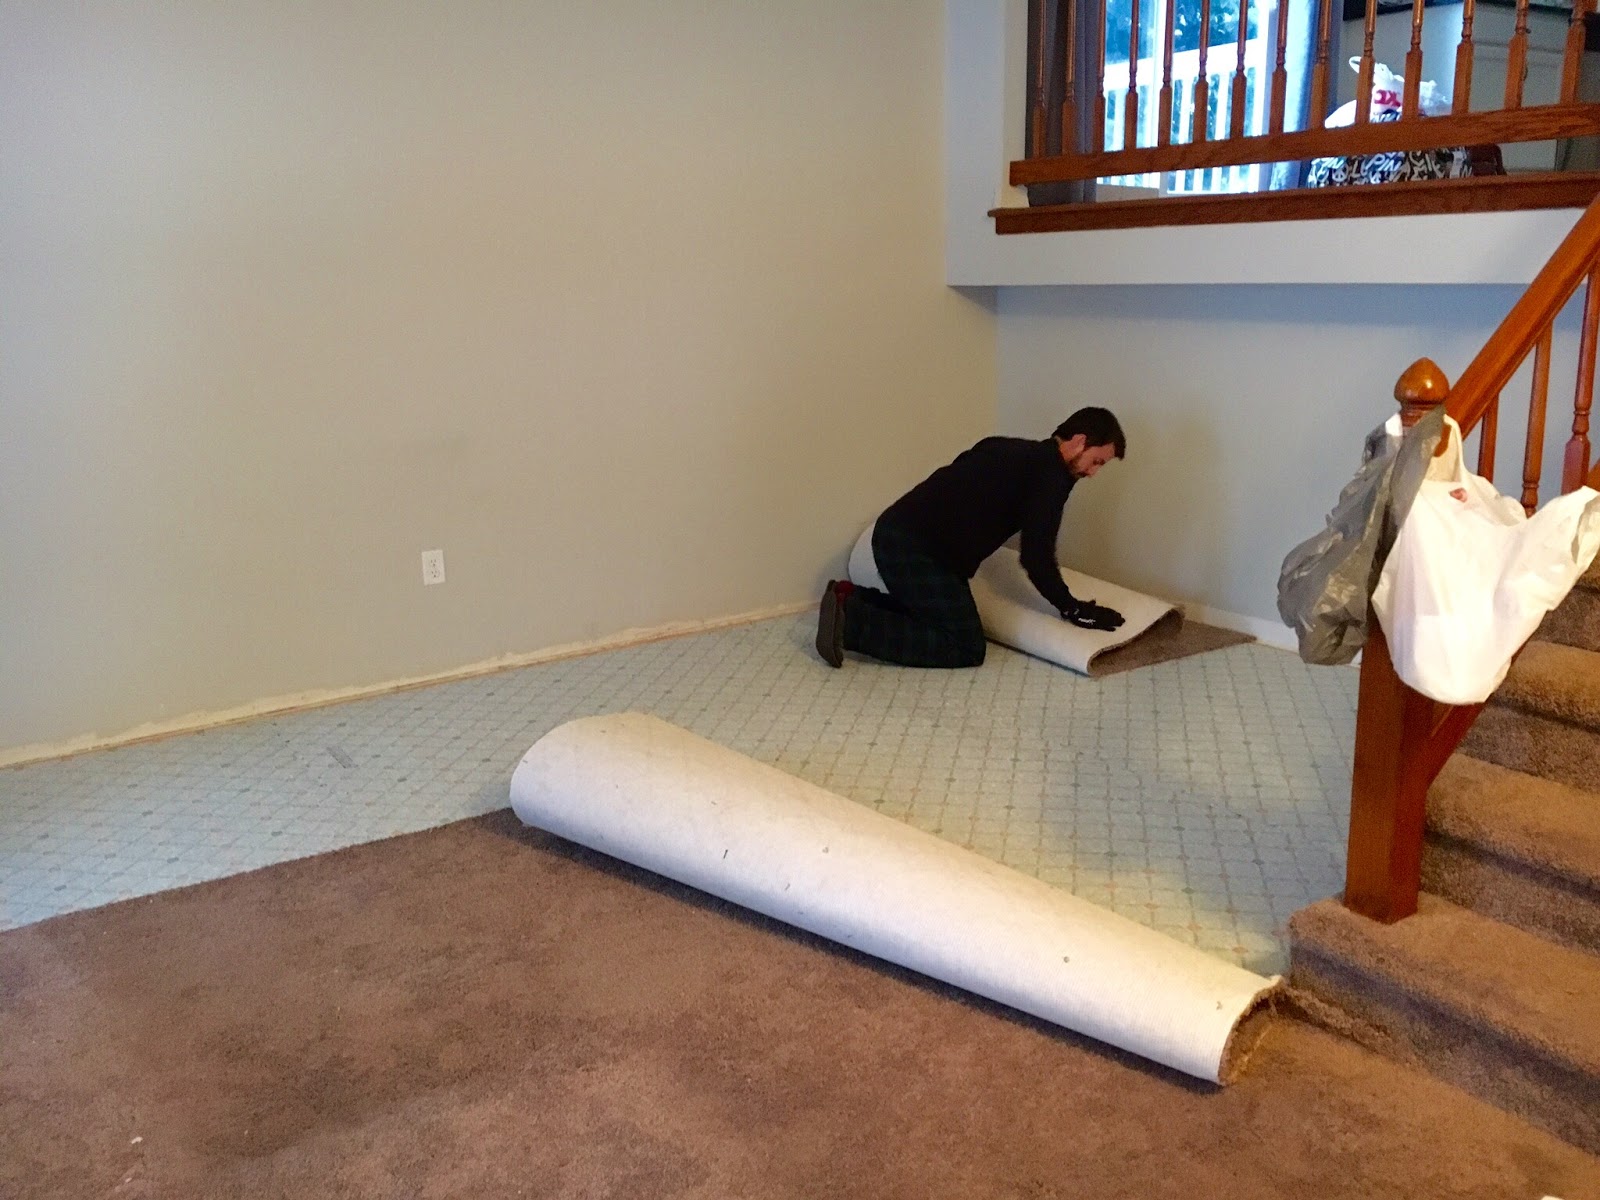
See that darker area? Yeah...you can see the actual layout of how our tenant had the furniture! 
They were only in our home for just about 11 months (4 of them not paid!!!)


Day 1 Project: Getting the smelly & dirty carpet up & out

Tools:
Utility Knife
Flat Head Screw Driver
Gloves
Crowbar
Mask
Rubber Sole Boots or Shoes*


The Process: 

  • Prep work: obviously move everything off your carpeted area that you plan to take up. Also, depending on your carpet condition, things can get pretty messy so move everything and anything you do no want covered in carpet dust/dirt. Remove any floor vents as well. Trim! All your trim has to go. We used our Flathead and crowbar to remove our trim. We are planning to reuse our trim or have no trim until we can get the style we want. I tell you this because we had to be careful when taking it off but if you are not planning to keep and reuse it, who cares if they break, just get them off! The trim in nailed in so you get to take out all of the nails that do not come out with the trim...so fun! Ryan used a cloth and crowbar to wedge and create distance with the extremely long nails! This helped us from adding holes to our sheet rock...which we did many times before he figure out this little helpful tip. 
  • We found a loose area near the vent that we could use to start pulling up the carpeting. Our utility knife became a great friend for this project. (the photo above you can see the area we started)
  • Cut it into pieces that are easy to roll and pick up.
  • The underlayment comes right up maybe leaving a few chunks here and there in the staples. Oh the staples! We had hundred of staples to pull up. It started off rough until we got the hang of it. A flat head screw driver and a crowbar where the only tools we used for this. 

  • So when you take up carpet and underlayment you will find a nail party underneath. We have OSB/Plywood underneath and it was loaded with nails, staples and the prickly tack strips. We watched a YouTube video or two but read a little bet here and there on about this process but nothing too extensive. 

     
  • Taking up the staples took forever but the tack strips were the ones I truly did not enjoy doing. After about 1 1/2 hours of working on tack strips, Ryan found a method that worked like a charm! You slide the Flathead right at where the nail head is, get it under the wood pretty good and than had your crowbar to the mix sliding under the wood but above your Flathead. 
     My knees and lower back were (are still) a mess!
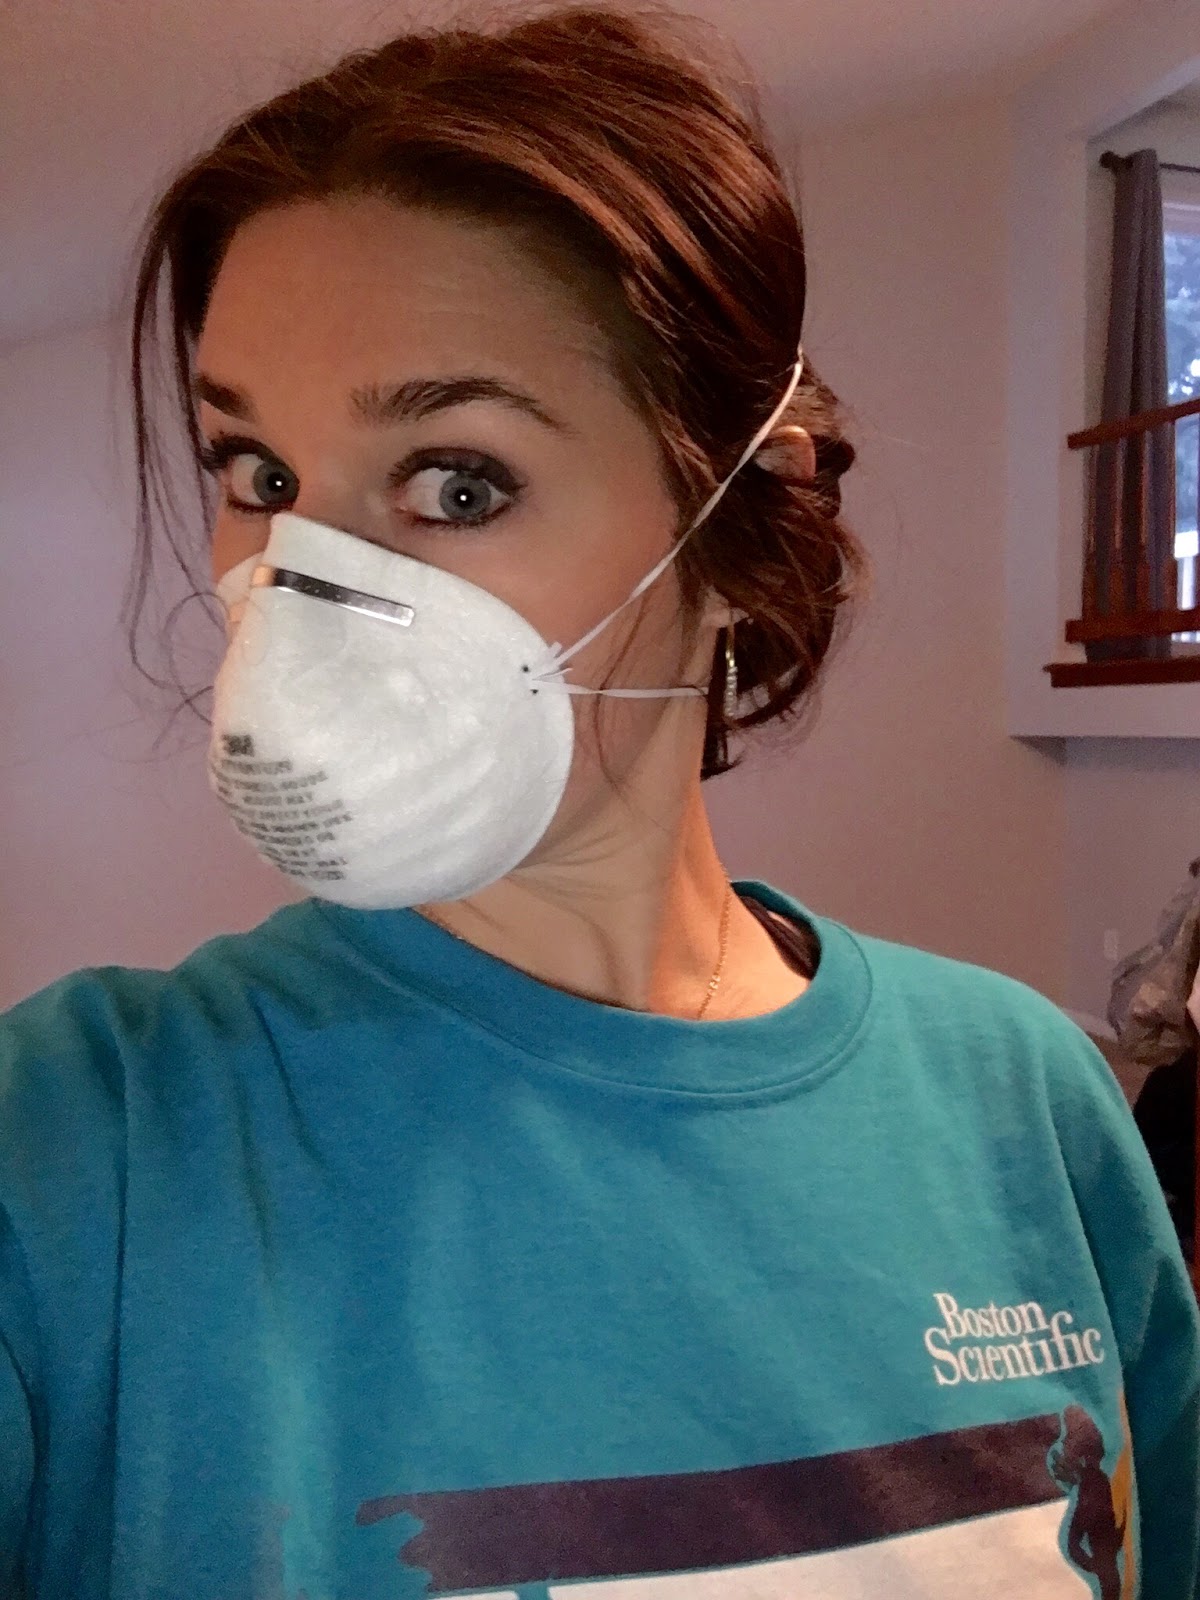
  • I choose to wear a mask the first day when we did the main part of getting the carpets up. I am so glad I did! Ryan woke up a mess! I didn't feel amazing by any means but way better than he did :) 
  • *I had staples in my shoes so make sure you have some thick soles to protect your feet from getting some nasty nails or staples in them! 


After hours of getting carpets filled with dust, dirt, animal hair and who knows what else plus all the damn staples and nails- we did it! All carpet is up, all staples & tack boards are up & the prickly tack strips are gone. 

BEFORE

 AFTER


We are putting Bamboo flooring in and are beyond excited! We searched and search around, orders samples from all over. Build Direct was amazing! We got our samples within 2 days and they are super helpful! We ending up choosing them due to the quick responses and we fell in love with this dark bamboo! Originally, we planned to do the lighter bamboo in the bedrooms but after seeing the dark with our newly panted walls were were hooked- all dark it is! 


Our house was left a complete mess, smelling like animals, stains on the carpets and just so much more filth. The carpets were really just the tip of the ice berg for our home projects. Being in the house for 6 days left me with headaches, stuffy nose, runny eyes, a sore throat and feeling so yucky! We hope that the new flooring will not only be beautiful but benefit us with allergies and keeping our home clean as a whistle! 


Don't miss my TOP 5 EVERYDAY ACCESSORIES on the TOM & Orrow BLOG today.


Exhausted but still much love, 
Amanda 

A Quick DIY Storage Box

15.2.16


A Quick DIY Felt Storage Box


Want to fancy up your storage boxes? 
Here is a super quick and low cost way to fancy up those boxes. 

Materials:
Storage Box, Cereal Box, Old Bins...
Felt
Scissors (fabric scissors)
Hot Glue Gun


The amount of felt you need will completely depend on the size of your box and number of boxes you want to cover. Felt is very inexpensive so over estimate.

I wanted to cover this storage luggage box I picked up at Michaels Craft Store
I layed out all the felt under the box and on top. By "measuring" from actually placing the felt where I wanted it. TIP: use a tiny bit of masking tape to hold the felt in place if it moves and is pisses you off. 

Once you know where you want your felt use a chalk pen pencil to mark any spots you need to cut so your felt fits just right. I did this around the clips and handle, also on the bottom and along the line of the opening of the box. 
When you are all set there, go ahead and cut those area off/out. Now begin gluing starting with the bottom layers of felt first. Work your way up to finishing with any felt accents. 

Hot glue, as you probably know, it HOT and drys quick. IF you make an "oh, shit" just peel the hot glue off...after it is dry :) 
                    

Well here is my box. 

I love this DIY because it is quick and easy but also because it adds so much character to a functional piece you can now use as decor! 


What does yours look like? 
You can use ANY old box. Stack cereal boxes together and wrap them in felt for a new file holder. Take an old shoe box and cover it in felt, creating a new tissue box. 
The list goes on!


Don't miss out on where to find unique designer handbags with us today on the TOM & Orrow blog. 

Much Love,
Amanda Adams 

Darby Smart: diy air plant clock

8.2.16


Air Plants & Clocks: diy your own air plant clock 


Last year I joined Darby Smart and was hooked. 
Air plants were all the range on their site for 2015 and I joined in. 
So, I am going to show you my favorite home accent I designed using craft supplies from Darby Smart


First off, Good Morning! 
I hope that you are enjoying the strangely "warm" weather 
we are having for February, I sure am! 


I got on to Darby Smart and had the hardest time with narrowing down my first project. I could easily loose track of time on that site! I picked out some supplies and they arrived before I knew it. 

DIY Home Accent for under $20.00
I picked out:


I got right to work measuring out the layout of what I was picturing in my head. 

Inserted the clock parts to the wooden clock

Now the measurements. I use the embroidery loop to measure the level of the plastic.
I covered the smaller loop completely and the largerplac loop with a harsh angle 

placing the smaller loop on the wooden clock, than the larger loop with the angled plastic covering.

test out the layout & get it all figured out. This is where the lovely E-600 comes into play. Add a friendly amount of glue to the embriodery loops to secure the plastic. Than do the same to the wooden loops to secure to the clock and eacother. 

Allow this to dry while you load the laundry, put the kids to sleep, or run errands. Once it is all dry, you are good to add the rocks and air plant! 

Ta-Da! Here is your new air plant clock. 

I left the wooden natural but you can add your own designs, paint it, really whatever just be sure to leave enough room from your clock parts to the plastic so that your clock will work and not drag or catchy on the plastic. 

Air plant turnout...I kill all plants :) It is super hard to kill these. It is not like I took that as a challenge but let's just say air plant life is no longer in our home. You can learn all about how to care for an 
air plant in the product description and care listing on Darby Smart, or simply Google it :) 
You don't want that advice from me. 


Happy Monday! I hope this is good motivation for you on this lovely Monday. 

Later Loves. 

Creative Compulsive Disorder

1.2.16

Creative Compulsive Disorder: 
    it is a real thing, 
                     at least to me. 

Are you so damn creative that sometimes you wish you weren't? Amen Sister! 


Many view my creative as a skill, a talent. Many have told me I am lucky to be so creative or that they wish they could be creative. When asked what my strengths and weaknesses are in job interviews my answer is always my creativity for both. Does anyone else feel like this?

Sometimes I want to shut off my creativity. It is exhausting! Give my some
soy* and I just might cry about it. (*Soy makes me really emotional!)
I live, breath, eat, think and strive to continually be creative. I would never wish
I wasn't, but it is all I know. My husband Ryan, is I wouldn't say, not creative but
certainly no where near my level of creative thinking. He is logical, needs a strict
you do this & you get this in return. Compared to him many would say I am a mess!
I might be, I am I am a super organize mess.

I wanted to write about this because less than a year ago I started an online boutique
called TOM & Orrow, accessories that show who you are through your style.
It is going well but could be better, should be better! My creative ways are killing me
right now. Staying focused, reading and learning the most I can about business and
implementing it all into my work is killing my creative vibe. I spend days on the
computer reading, updating, "fixing", changing and trying to get my sh*t together
business wise but all while doing that in the back of my thoughts there is a
little me standing all awkward*in a yoga pose holding a tools just waiting for
me to be like-game on, let's make something or go outside for a walk.

I feel guilty! I feel like I have to just keep going and going and going. I know
I don't need to, I know I need to take breaks, get outside, log out, avoid checking
Instagram but it harder than it sounds. Time escapes me when my face in stuck to the
screen of my computer trying to be a damn sponge absorbing as much knowledge I can
to help me, but I am just hurting myself. My husband came home the other day and made a comment that I hadn't changed. I was still in the over sized sweater I slept in the night before with the same messy bun, in the same chair. THAT IS NOT ME. I do not function like this. I get up early, drink way too much coffee, workout in the mornings, toss some ripped jeans and wedges on just because and than get to work. Right now, I am in a rut. Constantly fitting my creative thoughts through the day and drowning in my own creative mess.

I know I am not alone here because I have been reading around (surprise, surprise).
I would love to hear from other creatives how the heck they do it! Maybe it is the working
from home that is really getting to me. No people watching or socializing makes me loss it. I talk my husbands ear off when he gets home. Another human to interact with, yay!
Sometimes I do not even get outside...this is where I laugh at myself! Seriously Amanda, you can't take 20 minutes to just breath in fresh air?
I try really hard to follow my schedule, tune out from work but hot damn, it is hard!
I need like 8 hours of creativity, 1 hour outside, 1 hour of hot steamy yoga, 2 hours with
face to face human conversion & 1 hour of activity a day. Yet right now it is more like
10 hours of staring at a computer probably causing my LASIK to be like "I didn't sign up
for this shit" and maybe 30 minutes of cardio in a glass lab cage of an apartment gym.
Like anyone in this building wants to watch me to those frog leg circuits. Ladies, you know those killer weird looking leg moves? They work but I feel so strange doing them in public.

*I stand & sit so awkward that I make you feel uncomfortable. Really, ask around.


Times I am creative and would rather not be: 
Cooking: I can not follow instructions/measurements to save my life!
My husband goes insane because I had seeds and spices to everything &
substitute all the "good stuff".

Gifts: OH MY GOSH, gift buying takes me forever! I think about it in so much depth.
I try to remember that one, the person probably still won't love/use it as much as
I think and 2, who cares- it is the thought that counts. I have spent so many hours
trying to fine or design the perfect gift for everyone I buy gifts for- it is exhausting!
Just buy a damn gift already!

Business: My creativity is good here but also is causing me so much added frustration.
Having endless amounts of ideas is not helping me, it is hurting me.

Blogging & Product Titles: I am always trying to get uber creative, well not trying
but it just falls out of me. Sometimes creativity in your blog post title is no bueno.
Who is going to search for "So Blue, So you" ?? NO ONE IS!
I titled one of my necklaces that. After I did a webinar with
  Caitlin Bacher & Maya Elious I went to work on my products which lead to
starting fresh with product titles, alt text and product content.
I laughed at most of what I had originally...like "So Blue, So You".

Hosting Parties: I LOVE hosting parties! I also HATE hosting them.
I over think everything from decor to what people will be doing.

Moving Stuff: Yup, I move everything and anything. I will just go around
folding things, arranging them, putting them back to their original spots.
I create extra steps! Like when I do laundry...seriously, why can I not just
leave everything where it is to dry, fold it, hang it and put it away.

Saying No: When people ask me to creative, design, write or anything
creative for them I CAN'T SAY NO! I just can not do it. Can you draw my a tattoo?
I love your hand writing, can you write my invitations for me? Will you come up
with something creative to do at the event? I love you scarves, will you teach me how it knit?
I have always wanted a wrap bracelet, is it easy to do? Will you teach me?
I want to be clear, I LOVE doing all of these things!
Seriously, like I love when people ask me! The issue is I can't say no,
no matter how swamped I am. Also, part of my business is that I do teach you how to make everything I make, but it is a class so you have to pay just like everyone else.

Charging for you skills: Once people (some friends, family, acquaintances)
hear that I am charging them, they get all blank faced and googly eyed. Whhhaaatttt?
I am getting better with this but to be a serious business starts with being serious about
myself. Doing little "favors" for everyone who I know or that asks
is not going to get me viewed seriously. Still love y'all. A trade of services is
 one thing, but when it is expected for free it honestly just upsets me.
The best is when you do all the work and than poof!
They are gone.
I just came across this blog: Client Wants Free Work that should help with replies.


Does any of this connect with you? If so, share some love! 

What are some things that help you with your creative compulsive disorder? 


How do you stack on track with being a creative blogger and easily distracted having 
more ideas than your mind can even store? 

Made With Love By The Dutch Lady Designs